
Symphony will give you the option to create a website within the event setup process.
1. How to create a website
Event setup > Website > Add website
If you click on the “Website” section you will be given the option to “Add Website”.
Upon selecting “Add Website”, you will be able to fill in the basic details section.
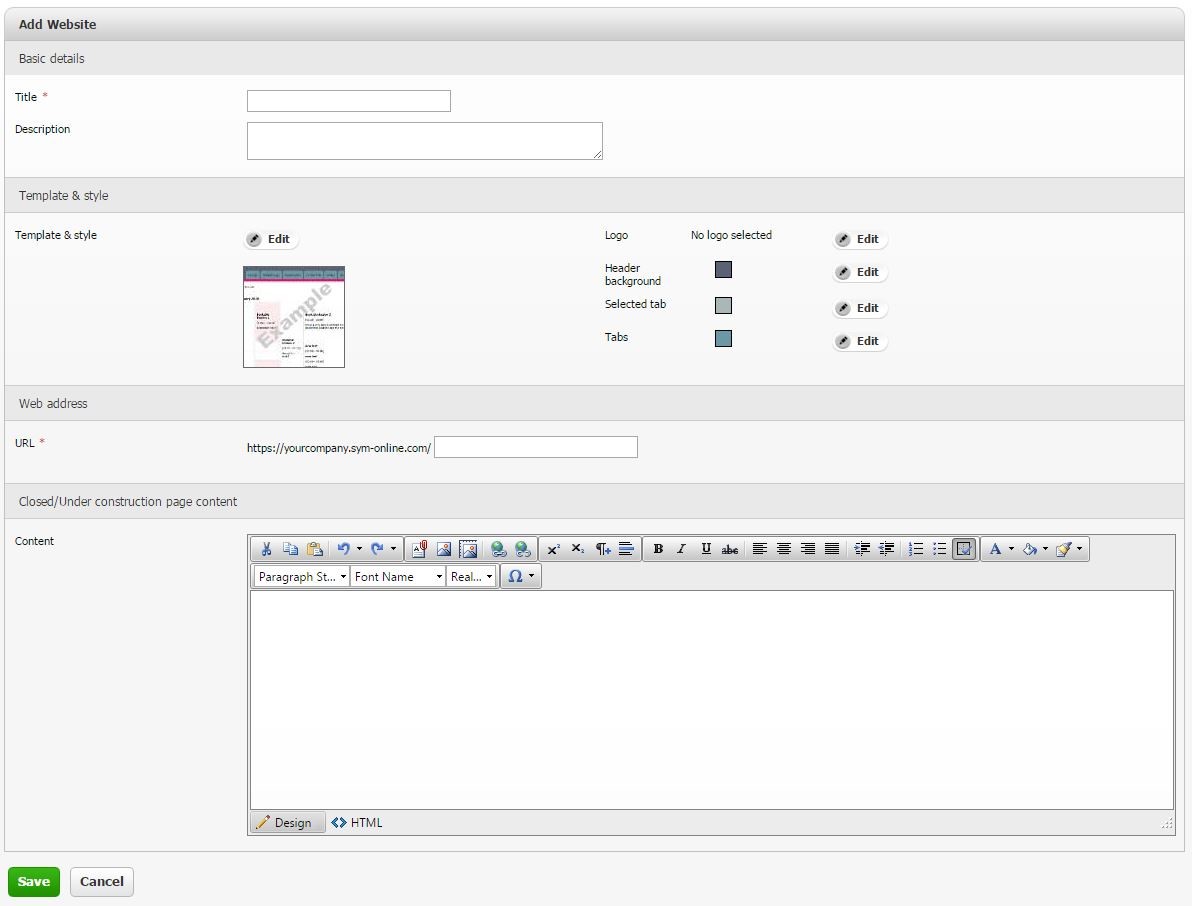
2. How to select a template
Event setup > Website > Basic Details
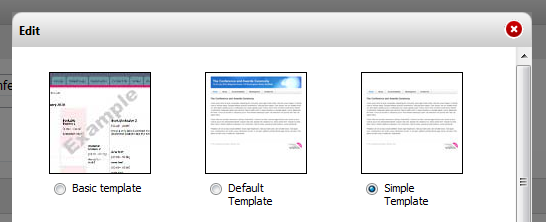
Within this section you are required to name your site and create a URL. You will also have the option to upload a logo to the site and design the template to your preferred requirements.
3. How to add pages
Event setup > Website > Website overview
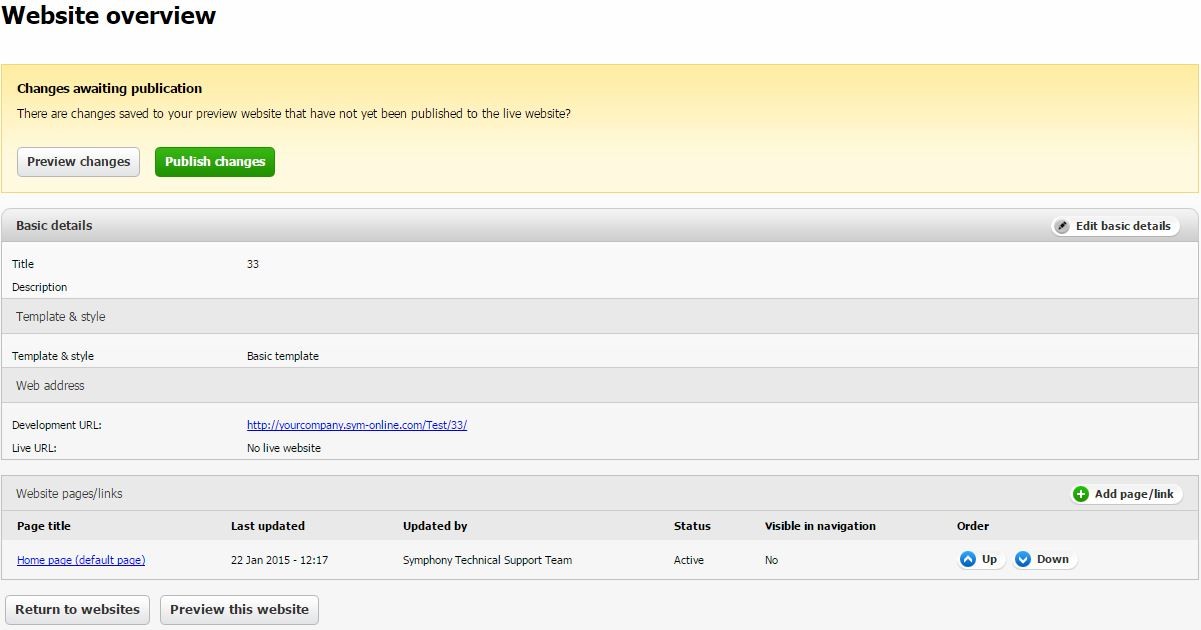
Once you have saved the basic details section, you will be taken to the “Website overview” page. Within this section you can create a selection of pages for your site, uploading the details, images and any content for your event.
To add a page you must select “Add page/link” which is located towards the bottom right of the website overview screen. When you have selected it, you will be given the option to add a page or a link. For this exercise we are adding a page. However, if you have an external web page you would like to be displayed on your site you can insert your URL at this point.
When the “Page” option is selected you will be given the option to choose a generic page layout or a range of pre-formatted options.
4. How to edit pages
Event setup > Website > Website overview > Page
When you have chosen a webpage to create, you will be given the option to upload content and whether you would like the page to show in the main navigation. Please ensure that the “Show in main navigation” is selected to ensure the page can be seen. However, you do have the option to keep the page hidden if desired.
To format the content on each page you have been provided with a tool bar. The tool bar allows you to format the page to your liking. Also, if you are familiar with HTML, you can switch to the HTML view to code your webpages.
5. How to publish your website
Event setup > Website > Website overview
If you are happy with the content and design of your website you can now make it active. To do so, you must navigate back to the “Website overview” page and select “Publish changes”. This will allow the website to go live. You will then need to set your website to be active.
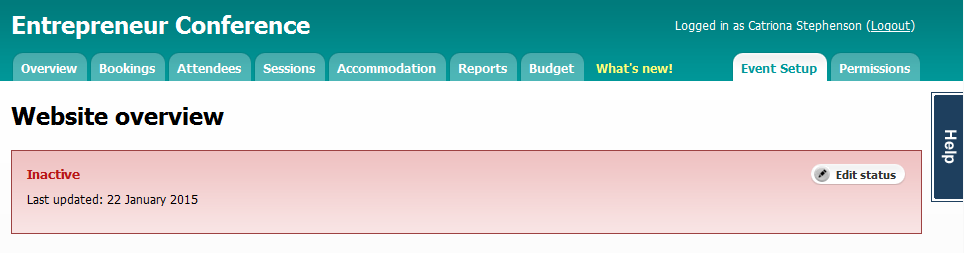
6. How to deactivate your website
Event setup > Website > Website overview
When your event has finished and you decide that you would like to deactivate the website. There is an option to create a closed page. In order to do so, you must navigate to “Website overview” then select “Edit basic details”. Towards the bottom of the page you will be given the option to add a “Closed/Under construction page content”. Any content added to this page will display once the website has closed, signifying that your event has concluded.
0 Comments